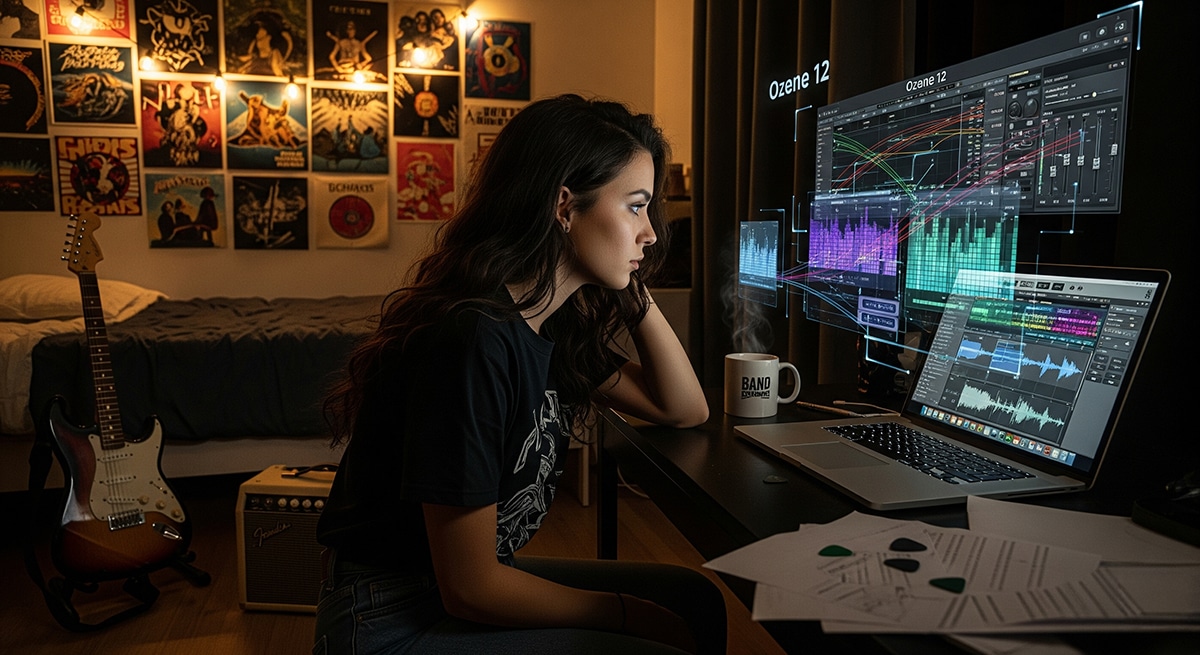
Ozone 12: How iZotope’s New Mastering Plugin Is Changing the Game
Making a Scene – Ozone 12: How iZotope’s New Mastering Plugin Is Changing the Game
Introduction
If you’ve ever finished mixing a song and thought, “Why doesn’t this sound like the tracks on Spotify or the radio?”—you’re not alone. That final polish you’re missing is called mastering, and it’s the step that takes a track from good to professional. For years, mastering was expensive, mysterious, and mostly reserved for big studios with racks of gear. But then came Ozone, and everything changed.
Now, in 2025, we’ve got Ozone 12, the newest version of iZotope’s legendary mastering plugin. This isn’t just a minor update. It’s a serious leap forward, blending powerful AI tools with hands-on control so musicians at every level can get results that sound pro.
Let’s dive in.
A Brief History of Ozone
Back in 2001, when iZotope released the very first Ozone, mastering felt like rocket science. You needed golden ears, specialized gear, and often a lot of money to get your tracks polished. Ozone flipped that script. For the first time, musicians could master their own songs right on their computer.
Each version since then has pushed the boundaries. Ozone 5 added new EQ and dynamics tools. Ozone 7 brought vintage modules. Ozone 8 introduced the original AI Master Assistant, which was mind-blowing at the time. Ozone 9 refined tonal balance and streaming loudness. Ozone 10 gave us smarter modules like the Stabilizer. And now we have Ozone 12, which takes things to a new level with machine learning, smarter processing, and even more ways to master music without feeling lost.
Ozone’s story is basically the story of how mastering went from an exclusive studio process to something indie artists can do in their bedrooms with nothing more than a laptop.
The Native Instruments Merger
In 2021, iZotope announced it was teaming up with Native Instruments, the Berlin-based company behind Komplete, Maschine, and Kontakt. By 2023, iZotope was fully absorbed into the NI family, alongside Plugin Alliance and Brainworx.
What this means for you is simple: one login for everything, smoother installs and updates through Native Access, and a bigger creative ecosystem where Ozone fits right alongside other tools. Instead of juggling accounts or worrying about compatibility, you can now focus on making music.
What’s New in Ozone 12
So what makes Ozone 12 different from the versions before it? The short answer: smarter AI, better tools for modern mixing challenges, and more control for you as the musician. Here are the standout new features:
-
Stem EQ – Lets you EQ vocals, drums, bass, or instruments separately even if you only have a stereo mix.
-
Bass Control – Keeps the low end clean and tight so your music sounds good on everything from earbuds to club speakers.
-
Unlimiter – Restores punch and life to tracks that were over-compressed.
-
IRC 5 Maximizer – A new mode that makes your track loud and clear without distortion.
-
Enhanced Mastering Assistant – A smarter AI guide that lets you set genre, loudness, and modules while still keeping control.
-
Apple Silicon Support – Runs fast and smooth on the latest Macs.
The AI Mastering Assistant
Let’s be real: mastering can feel intimidating. That’s why Ozone’s AI Mastering Assistant is such a game-changer. In Ozone 8, the Assistant would analyze your song and spit out settings. It was cool, but sometimes felt rigid. In Ozone 12, it’s evolved into more of a coach than a dictator.
Here’s how it works. You load up your track and open the Mastering Assistant. Instead of just hitting “analyze,” you now tell it a few things first: what genre your track fits into, what loudness level you’re aiming for (say -14 LUFS for Spotify or -8 LUFS for a club banger), and which modules you want to include in the chain. Then you play your track, the Assistant listens, and in a few seconds it suggests a mastering chain tailored to your song.
The magic here is that you’re not stuck with what it gives you. You can tweak, remove, or add anything you want. Think of it like having an experienced engineer lean over your shoulder and say, “Hey, you might want to try boosting the vocals a bit and tightening the bass.” It gives you confidence and a solid starting point, but the creative choices are still yours.
Hands-On Mastering with Ozone 12
Let’s talk real-world examples, because this is where Ozone 12 shines.
Imagine you’ve just finished a bedroom pop track with soft vocals and lo-fi synths. It sounds okay, but a little flat. You open the Assistant, choose “Pop,” set your loudness to -14 LUFS, and pick Stem EQ, Bass Control, and IRC 5. The Assistant adds some brightness to your vocals, clears up the low end, and gets your volume right for streaming. Suddenly your track sounds polished and professional.
Or maybe you’ve got a crunchy rock demo. The guitars are exciting, but the drums keep getting buried. You run the Assistant, pick “Rock” as the genre, and include Stem EQ and Unlimiter. The Assistant suggests bringing out the kick and snare while restoring punch to the whole mix. After tweaking the Maximizer, your track feels alive, powerful, and ready to share.
If you’re working on a hip-hop beat with heavy 808s, Bass Control is your new best friend. You know the frustration of a beat sounding massive on your monitors but disappearing on a Bluetooth speaker? Bass Control fixes that by balancing the sub frequencies with the upper bass, so your track slaps everywhere.
For acoustic singer-songwriters, the Assistant keeps things warm and natural. You can brighten the vocal just enough, warm up the guitar, and leave more dynamics intact so the emotion comes through.
And if you’re making EDM for festivals, you can push it hard. Set the Assistant to “EDM,” aim for -8 LUFS, and let Bass Control and the Exciter do their thing. With IRC 5, you can crank the loudness without your mix falling apart. The result? A track that competes with pro DJ releases in the club.
Advanced Tricks
Once you’re comfortable, Ozone 12 has some deeper tricks too. You can use mid/side processing to EQ the center of your mix separately from the sides, which is great for cleaning up mud while keeping your stereo image wide. You can also load up a reference track—maybe something by Billie Eilish or Drake—and Ozone will help you match the EQ curve and loudness. And if you’re releasing music in different contexts, you can easily export multiple versions: one mastered for streaming, one for club play, and one for CD.
Why Ozone 12 Matters
For indie musicians, Ozone 12 is more than just another plugin. It’s freedom. It means you don’t have to save up for expensive mastering engineers every time you want to release a song. It means you can learn by doing, hearing what each tweak does, and gradually building your own style. And thanks to the AI features, you don’t need to be scared of the process anymore. You’ve got a guide who knows the ropes but still lets you stay in the driver’s seat.
Conclusion
Ozone 12 is the most powerful version yet of a plugin that’s been changing the way people master music for more than two decades. With new features like Stem EQ, Bass Control, Unlimiter, IRC 5, and a smarter AI Mastering Assistant, it gives musicians at every level the tools they need to sound professional.
Paired with its integration into the Native Instruments ecosystem, Ozone 12 is more than just a mastering suite—it’s part of a bigger vision to make music creation easier, smoother, and more fun.
So whether you’re in a bedroom, a basement, or a pro studio, Ozone 12 puts mastering within reach. Open it up, trust your ears, let the AI Assistant guide you, and watch your music come alive.
Hands-On Mastering with Ozone 12
So far we’ve talked about the features and history, but the best way to learn is by doing. Let’s walk through scenarios step by step. Think of these like cooking recipes for different music styles.
Example 1: Bedroom Pop Track
You’ve recorded a lo-fi pop track with vocals, synths, and a drum machine. It’s vibey but feels flat.
Step 1: Open Ozone 12 and start with Master Assistant
Choose “Pop” as your genre. Set your loudness target to -14 LUFS (perfect for Spotify). Add modules: Stem EQ, Bass Control, and IRC 5.
Step 2: Use Stem EQ
Solo “Vocals” inside Stem EQ. Add a small boost around 4 kHz for presence. Cut a little at 300 Hz if it sounds boxy.
Step 3: Bass Control
Pick the “Tight” setting. Roll off unnecessary sub-bass under 30 Hz. This makes your mix clearer on earbuds.
Step 4: Maximizer with IRC 5
Raise the ceiling to -1 dB. Adjust threshold until you’re hitting your loudness target without distortion.
Now your track is crisp, clear, and streaming-ready.
Example 2: Indie Rock Band Demo
Your band just recorded a crunchy guitar-heavy song. The raw mix is exciting, but the kick and snare get buried.
Step 1: Start Master Assistant, choose “Rock.”
Select modules: Stem EQ, Unlimiter, and Maximizer.
Step 2: Stem EQ on Drums
Add 2–3 dB at 100 Hz to bring out the kick. Boost around 5 kHz for snare crack.
Step 3: Unlimiter
The rough mix was already squashed from bus compression. Turn on Unlimiter, and listen as it restores transients so the drums punch through again.
Step 4: IRC 5 Maximizer
Use “Punchy” style to keep the rock energy alive. Push threshold until it feels exciting but not smashed.
Suddenly, your track feels alive and radio-ready.
Example 3: Hip-Hop Beat with Heavy 808s
You produced a trap beat with massive 808s. On your studio monitors it slaps, but on your friend’s Bluetooth speaker, the bass disappears.
Step 1: Master Assistant, choose “Hip-Hop.”
Add Bass Control, Maximizer, and EQ.
Step 2: Bass Control
Select the “Focus” preset. Boost upper bass (60–80 Hz) so the energy translates to smaller speakers.
Step 3: EQ Touch-Up
Dip around 200–250 Hz to clear up muddiness. Brighten the hi-hats slightly at 8–10 kHz.
Step 4: Maximizer (IRC 5)
Use “Modern” style. Bring threshold down so it competes with pro tracks in loudness. Your beat now sounds massive everywhere — clubs, earbuds, cars.
Example 4: Acoustic Singer-Songwriter Track
You’ve recorded a simple acoustic guitar and vocal. You want it warm, natural, and emotional.
Step 1: Master Assistant, choose “Acoustic.”
Add Stem EQ, Gentle Compression, and Maximizer.
Step 2: Stem EQ (Vocals + Guitar)
Slightly brighten the vocal at 6 kHz. Add warmth to the guitar by boosting 200 Hz gently.
Step 3: Dynamics (Compressor)
Use light compression: 2:1 ratio, slow attack. This smooths volume swings without squashing emotion.
Step 4: Maximizer
Keep it subtle — just enough to get the track up to streaming levels. Leave more headroom (around -14 to -16 LUFS) to keep dynamics intact.
The result: clean, emotional, not over-processed.
Example 5: EDM Track for Festivals
Your track is full of synths, drops, and pounding kicks. You need it loud and polished to compete in a DJ set.
Step 1: Master Assistant, choose “EDM.”
Modules: Bass Control, Stem EQ, Maximizer, Exciter.
Step 2: Stem EQ on Vocals
Boost presence so vocals cut through the huge synths.
Step 3: Bass Control
Use the “Tight + Punchy” setting. Ensure the kick and sub-bass don’t overlap too much.
Step 4: Exciter
Add a bit of harmonic excitement in the highs (10–12 kHz). Makes the top end sparkle in clubs.
Step 5: Maximizer (IRC 5, “Loud & Clean”)
Push the loudness hard — around -7 to -8 LUFS — typical for EDM festival tracks. Check that it’s not distorting.
You now have a festival-ready banger.
Advanced Tricks and Tips
Mid/Side Processing
Ozone lets you EQ or compress the “mid” (center) separately from the “sides” (stereo edges). Example: On a wide mix, cut muddy mids around 200 Hz but keep the sides untouched, so the stereo image stays wide and clear.
Reference Matching
Load a reference track (like Billie Eilish or Drake). Ozone can analyze it and help match EQ and loudness. Great for learning how your mix compares to industry standards.
A/B Listening
Always use the “Bypass” button to hear your before/after. Don’t get tricked by “louder = better.” Match levels for fair comparison.
Multiple Versions
Export one version at -14 LUFS for streaming. Export another hotter version at -8 LUFS if you want a “club/CD” master. Ozone makes it easy to tweak and re-export.
Why This Matters for Indie Artists
These hands-on workflows show that you don’t need a $10,000 mastering studio to sound professional. With Ozone 12:
-
Bedroom producers can make Spotify-ready songs.
-
Indie bands can polish demos into radio-level masters.
-
Hip-hop producers can get their 808s to slap everywhere.
-
Singer-songwriters can keep warmth and emotion.
-
EDM creators can push club-ready volume safely.
Wrap-Up
Ozone 12 isn’t just another plugin—it’s like having a mastering engineer built into your computer. With tools like Stem EQ, Bass Control, Unlimiter, IRC 5, and the smarter Master Assistant, you can make pro-level masters without the fear of messing up.
And with iZotope now teamed up with Native Instruments, the ecosystem is only getting smoother, faster, and more creative.
Mastering can feel scary, but with Ozone 12, it’s more like a guided tour: you get to drive, but there’s a GPS making sure you don’t get lost.
 |  Spotify |  Deezer | Breaker |
 Pocket Cast |  Radio Public |  Stitcher |  TuneIn |
 IHeart Radio |  Mixcloud |  PlayerFM |  Amazon |
 Jiosaavn |  Gaana | Vurbl |  Audius |
Reason.Fm | |||
Find our Podcasts on these outlets
Buy Us a Cup of Coffee!
Join the movement in supporting Making a Scene, the premier independent resource for both emerging musicians and the dedicated fans who champion them.
We showcase this vibrant community that celebrates the raw talent and creative spirit driving the music industry forward. From insightful articles and in-depth interviews to exclusive content and insider tips, Making a Scene empowers artists to thrive and fans to discover their next favorite sound.
Together, let’s amplify the voices of independent musicians and forge unforgettable connections through the power of music
Make a one-time donation
Make a monthly donation
Make a yearly donation
Buy us a cup of Coffee!
Or enter a custom amount
Your contribution is appreciated.
Your contribution is appreciated.
Your contribution is appreciated.
DonateDonate monthlyDonate yearlyYou can donate directly through Paypal!
Subscribe to Our Newsletter
Order the New Book From Making a Scene
Breaking Chains – Navigating the Decentralized Music Industry
Breaking Chains is a groundbreaking guide for independent musicians ready to take control of their careers in the rapidly evolving world of decentralized music. From blockchain-powered royalties to NFTs, DAOs, and smart contracts, this book breaks down complex Web3 concepts into practical strategies that help artists earn more, connect directly with fans, and retain creative freedom. With real-world examples, platform recommendations, and step-by-step guidance, it empowers musicians to bypass traditional gatekeepers and build sustainable careers on their own terms.
More than just a tech manual, Breaking Chains explores the bigger picture—how decentralization can rebuild the music industry’s middle class, strengthen local economies, and transform fans into stakeholders in an artist’s journey. Whether you’re an emerging musician, a veteran indie artist, or a curious fan of the next music revolution, this book is your roadmap to the future of fair, transparent, and community-driven music.
Get your Limited Edition Signed and Numbered (Only 50 copies Available) Free Shipping Included
Discover more from Making A Scene!
Subscribe to get the latest posts sent to your email.


