


EQ Demystified: How to Really Use Equalization in Recording, Mixing, and Mastering


Making a Scene Presents – EQ Demystified: How to Really Use Equalization in Recording, Mixing, and Mastering
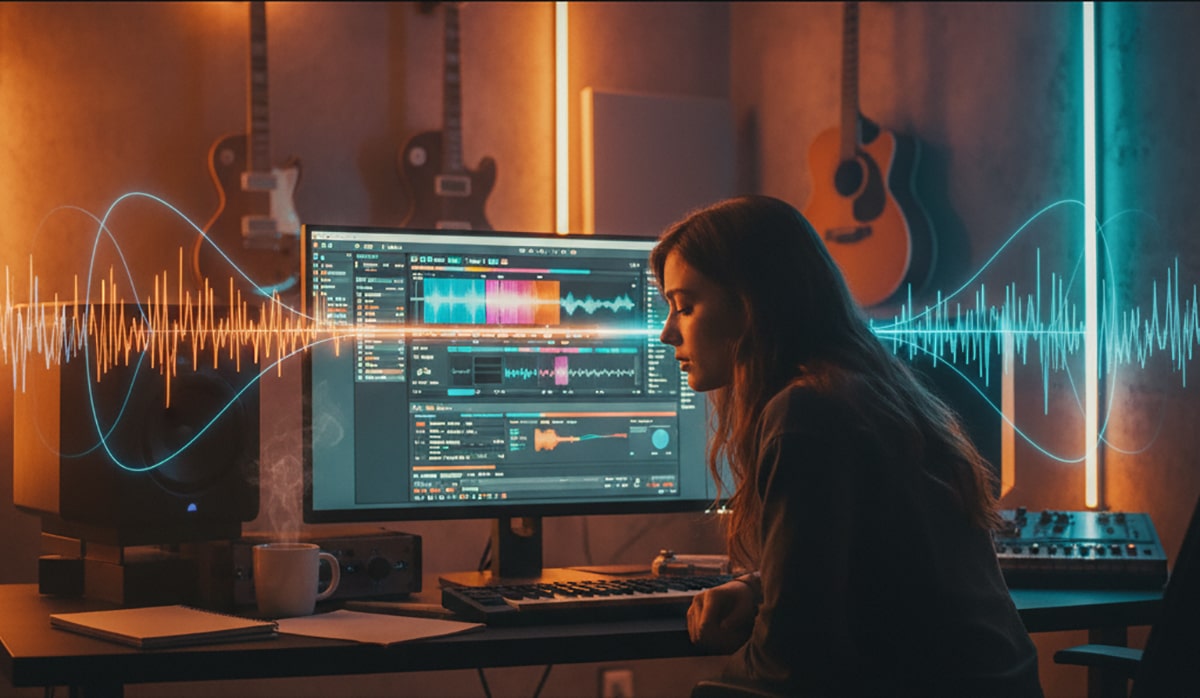
Listen to the Podcast Discussion to gain more insight into using EQ in Your Home Studio
Let’s be honest — EQ is one of the most misunderstood and misused tools in audio production. Every engineer, from beginners to veterans, has at some point reached for an EQ knob when they probably should’ve just moved a microphone, changed a preamp, or adjusted their room.
But when EQ is used right? It’s magic. It can turn a muddy track into something open and beautiful. It can help every instrument find its space in the mix. It can make your master sound balanced, natural, and powerful.
In this deep dive, we’ll break down what EQ really does, how to use it without destroying your sound, and why sometimes the best EQ move is no EQ at all.
We’ll explore how EQ is used in recording, mixing, and mastering, talk about all the different types of EQs, and show you some modern plugin examples that bring these ideas to life.
What Is EQ, Really?
EQ, short for equalization, is the process of changing the balance between different frequencies in an audio signal. Think of it like seasoning a meal. You can add a bit of salt (boosting high frequencies), take away some spice (cutting harsh mids), or smooth out the low end (rolling off bass).
Every sound — your voice, your guitar, your snare drum — has a unique frequency fingerprint. EQ gives you the power to shape that fingerprint.
But here’s the catch: just because you can doesn’t always mean you should.
The Misuse of EQ: Why Less Is Usually More
One of the biggest mistakes people make when learning to mix is thinking EQ is a fix-all tool. Have a muddy vocal? Cut the lows! Harsh guitars? Dip the highs! Can’t hear the kick? Boost 60 Hz!
The problem is, these quick fixes often create more problems than they solve. Every EQ move changes not just the frequency you target, but also the phase and tone around it. Too much EQ can make your mix thin, lifeless, or brittle.
So the golden rule of EQ is this:
If you can fix it at the source, do it there first.
Move the mic. Change the mic. Adjust the distance. Tweak your amp. Change your playing technique. You’ll be amazed how often the “problem frequency” disappears when you fix the source of the sound.
EQ should be your last resort in recording, not your first.
EQ in Recording: Fix It Before You Mix It
When you’re recording, your main job is to capture the best sound possible before it hits your DAW. Every EQ decision you make at this stage is permanent. That’s why seasoned engineers preach:
“Don’t fix it in the mix — fix it in the mic.”
Here’s what that means in practice:
If your vocal sounds too boomy? Don’t cut 200 Hz. Try raising the mic a few inches or aiming it slightly off-axis.
If your acoustic guitar sounds too bright? Move the mic away from the sound hole or use a ribbon mic instead of a condenser.
If your snare lacks body? Try a mic with a better low-mid response, or adjust the tuning.
Small mic moves — even an inch or two — can change the frequency balance far more musically than any EQ ever could.
When to Use EQ in Recording
There are times, of course, when EQ during recording makes sense. For example:
-
Rolling off rumble or subsonic noise below 40–60 Hz
-
Removing low-end bleed from a kick mic
-
Cutting harshness in a vocal or overhead mic
If you must EQ on the way in, use subtle, broad strokes, not surgical cuts.
Many engineers like using hardware-style EQs for this, such as the Pultec EQP-1A or API 550A. These add character even with small moves.
If you’re using plugins, try:
-
Universal Audio Pultec EQP-1A – https://www.uaudio.com/uad-plugins/equalizers/pultec-eqp-1a-legacy.html
-
Waves API 550A – https://www.waves.com/plugins/api-550a-equalizer
-
Softube Tube-Tech EQ PE 1C – https://www.softube.com/tube-tech-eq-pe-1c
Understanding the Different Types of EQ
Not all EQs are created equal. Each type has its own behavior, workflow, and “feel.” Let’s explore the main ones.
1. Parametric EQ
This is the most common type in modern DAWs. It lets you choose the frequency, gain, and bandwidth (Q) for each band. It’s flexible and precise — great for surgical cuts or detailed shaping.
If you want to remove a specific ringing frequency in a vocal or tame a honky guitar tone, a parametric EQ is perfect.
Examples of parametric EQs:
-
FabFilter Pro-Q 3 – https://www.fabfilter.com/products/pro-q-3-equalizer-plug-in
-
iZotope Neutron 5 EQ – https://www.izotope.com/en/products/neutron.html
-
Slate Digital Infinity EQ – https://slatedigital.com/infinity-eq/
When using parametric EQs, beware of over-correcting. Boosting narrow bands can sound unnatural. Think broad, gentle curves instead of sharp peaks.
2. Graphic EQ
Graphic EQs split the frequency spectrum into fixed bands (like 31 or 15 bands). Each slider controls one frequency range. They’re great for live sound or quick tonal shaping but less precise than parametric EQs.
You’ll often see these used for room tuning or monitor adjustments.
Examples of graphic EQs:
-
Waves GEQ Graphic Equalizer – https://www.waves.com/plugins/geq-graphic-equalizer
-
Avid Graphic EQ (Pro Tools) – built-in for Pro Tools users
3. Shelving EQ
Shelving EQs affect everything above or below a certain frequency.
A high shelf boosts or cuts highs (like turning up the “treble”), and a low shelf adjusts bass frequencies. These are great for broad tonal moves — like adding air to vocals or warming up a bass guitar.
Most analog EQs and mixers have simple shelves.
Examples:
-
SSL Native Channel Strip 2 – https://www.solidstatelogic.com/products/ssl-native-channel-strip-2
4. Multiband EQ
Multiband EQs divide your signal into frequency “bands” that can be dynamically boosted or reduced — almost like a hybrid between EQ and compression.
They’re extremely useful in mastering or taming difficult instruments (like de-essing vocals or controlling boomy bass).
Examples:
-
iZotope Ozone 12 EQ – https://www.izotope.com/en/products/ozone.html
-
FabFilter Pro-MB – https://www.fabfilter.com/products/pro-mb-multiband-compressor-plug-in
-
Waves C6 Multiband Compressor – https://www.waves.com/plugins/c6-multiband-compressor
Use these carefully. Too much dynamic EQ can suck the life out of your mix.
5. Reactive or Passive EQ
Reactive (or passive) EQs use real analog circuits that respond naturally to the music. Unlike digital EQs, they often have smooth curves and pleasing phase characteristics.
The famous Pultec EQP-1A is a passive EQ. It doesn’t just boost or cut — it shapes the tone in a way that feels alive.
Many plugin versions emulate that magic today:
-
Pultec EQP-1A by Universal Audio
-
Pultec by Waves (PuigTec EQP-1A) – https://www.waves.com/plugins/puigtec-eqs
-
Analog Obsession Rare (Free) – https://analogobsession.com/
How to Use a Pultec-Style EQ (and the Secret Boost/Cut Trick)
The Pultec EQP-1A is legendary not just because it sounds good, but because of how it works. It’s a tube-based passive EQ that uses transformers and inductors to create a smooth, musical tone.
Its famous trick? You can boost and cut the same frequency at once.
The Boost/Cut Trick
On a Pultec, you’ll see two knobs for the low end: Boost and Attenuate. You might think they cancel each other out, but they don’t.
When you boost and cut the same frequency, the EQ creates a unique “dip and rise” curve that adds punch and clarity while cleaning up mud.
For example:
-
Set the low frequency to 60 Hz
-
Boost around 4–5
-
Attenuate around 3
This adds warmth and punch at 60 Hz but removes muddiness just above it (around 100–200 Hz). It’s why engineers love the Pultec on kick drums, bass, and vocals.
For Highs:
Use the high-frequency boost for presence or air. Try boosting around 10–12 kHz with a gentle bandwidth. The result? Smooth sparkle — never harsh.
If your mix feels dull, this EQ can bring it to life without sounding brittle.
EQ in Mixing: Sculpting Space
Once your tracks are recorded cleanly, EQ becomes a sculpting tool — a way to make each instrument sit in its own space without fighting for attention.
Think of your mix like a crowded room. EQ helps you give everyone enough elbow room.
But here’s where things often go wrong: many mixers try to fix problems with EQ instead of balancing them.
Cut Before You Boost
The most important mixing principle is simple:
If it sounds bad, cut. If it sounds good, leave it alone.
Boosting frequencies adds energy and can cause clutter. Cutting problem areas, on the other hand, creates clarity without over-hyping.
Start by identifying the frequency ranges that commonly cause issues:
-
Mud: 200–400 Hz
-
Harshness: 2–5 kHz
-
Boom: below 100 Hz
-
Sibilance: 6–8 kHz
Use a parametric EQ like FabFilter Pro-Q 3 to make surgical cuts.
If your mix feels thin afterward, use a broad, gentle shelf to bring back warmth instead of stacking narrow boosts.
EQ by Instrument (Quick Guide)
Here’s how EQ tends to help common mix elements — but remember, every mix is different.
Vocals – Roll off below 80 Hz. Cut mud around 200 Hz. Add air around 10–12 kHz.
Bass Guitar – Boost 60–80 Hz for body, cut 250 Hz if it’s boxy, add 1–2 kHz for attack.
Drums – Kick: boost 60–80 Hz, cut 300 Hz. Snare: boost 200 Hz for body, 5 kHz for snap.
Acoustic Guitar – Roll off below 100 Hz, cut 300–400 Hz if boomy, add sparkle around 10 kHz.
Remember, small moves add up. A half dB here, a gentle cut there — that’s how pros mix.
EQ in Mastering: Less Is More
If mixing is about shaping the pieces, mastering is about polishing the final picture. EQ at this stage is incredibly subtle — tiny adjustments of 0.5–1 dB can make or break a master.
The key idea in mastering is balance. You’re not fixing mix problems anymore — you’re making the whole song feel cohesive and natural across playback systems.
Many mastering engineers prefer linear phase EQs for this stage because they preserve phase relationships between frequencies.
Examples:
-
iZotope Ozone 12 EQ – https://www.izotope.com/en/products/ozone.html
-
FabFilter Pro-Q 3 (Linear Phase Mode)
-
DMG Audio Equilibrium – https://dmgaudio.com/products_equilibrium.php
Common Mastering Moves
-
Add a touch of low-end fullness (0.5–1 dB at 60–80 Hz)
-
Clean up midrange mud (tiny cut around 250 Hz)
-
Add air (0.5 dB shelf around 15–16 kHz)
That’s it. Seriously.
More EQ in mastering usually means the mix wasn’t ready.
Phase and Transparency: The Hidden EQ Factor
Every EQ introduces phase shift, which is a delay between frequencies. This can make your mix sound smeared or hollow.
Some EQs, like linear phase EQs, fix this — but they can also create pre-ringing or latency.
Analog-style EQs, on the other hand, sound musical because of their phase shift. They glue things together.
So when choosing EQs:
-
For precision: Linear Phase EQs (FabFilter Pro-Q 3, Ozone)
-
For character: Analog-Modeled EQs (Pultec, Neve, API)
Each has its place.
Training Your Ears for EQ
The best engineers can identify problem frequencies by ear. That skill takes time, but you can train it.
Try apps and tools like:
-
TrainYourEars EQ Edition – https://www.trainyourears.com/
-
SoundGym EQ Trainer – https://www.soundgym.co/
They teach you how to recognize frequency ranges so you can EQ with confidence instead of guessing.
Modern EQ Plugins That Do the Work for You
AI and intelligent EQs are changing the game. Tools like Sonible smart:EQ 4 (https://www.sonible.com/smarteq4/) or iZotope Neutron 5 can actually listen to your track and suggest EQ moves automatically.
These are great learning tools — you can watch what the plugin does and then adjust manually.
Other modern EQs worth checking out:
-
Crave EQ – https://www.cravedsp.com/products/crave-eq
-
TDR Nova (Free) – https://www.tokyodawn.net/tdr-nova/
-
Kirchhoff-EQ – https://www.three-bodytech.com/en/products/kirchhoff-eq/
The Philosophy of EQ: Subtraction, Space, and Restraint
At the heart of it all, EQ isn’t about boosting things you like — it’s about making space for everything to live together.
Every cut gives another instrument room to breathe. Every small move helps the listener focus on what matters most — the song.
As legendary engineer Bob Clearmountain once said:
“Good EQ is invisible. You don’t notice it. You just feel the mix sounds right.”
So next time you reach for that EQ, pause and ask yourself:
-
Can I fix this with mic placement?
-
Can I fix this with balance or panning?
-
Does this track even need EQ?
If you can answer those honestly, you’re already mixing like a pro.
Summary: Key Takeaways
-
In Recording: Move the mic before touching the EQ. Capture the best sound possible.
-
In Mixing: Use EQ to carve space, not to fix bad recordings. Cut before you boost.
-
In Mastering: Subtle moves only. 0.5–1 dB is plenty.
-
Always: Less is more. Listen more than you tweak.
 |  Spotify |  Deezer | Breaker |
 Pocket Cast |  Radio Public |  Stitcher |  TuneIn |
 IHeart Radio |  Mixcloud |  PlayerFM |  Amazon |
 Jiosaavn |  Gaana |  Vurbl | Audius |
Reason.Fm | |||
Find our Podcasts on these outlets
Buy Us a Cup of Coffee!
Join the movement in supporting Making a Scene, the premier independent resource for both emerging musicians and the dedicated fans who champion them.
We showcase this vibrant community that celebrates the raw talent and creative spirit driving the music industry forward. From insightful articles and in-depth interviews to exclusive content and insider tips, Making a Scene empowers artists to thrive and fans to discover their next favorite sound.
Together, let’s amplify the voices of independent musicians and forge unforgettable connections through the power of music
Make a one-time donation
Make a monthly donation
Make a yearly donation
Buy us a cup of Coffee!
Or enter a custom amount
Your contribution is appreciated.
Your contribution is appreciated.
Your contribution is appreciated.
DonateDonate monthlyDonate yearlyYou can donate directly through Paypal!
Subscribe to Our Newsletter
Order the New Book From Making a Scene
Breaking Chains – Navigating the Decentralized Music Industry

Breaking Chains is a groundbreaking guide for independent musicians ready to take control of their careers in the rapidly evolving world of decentralized music. From blockchain-powered royalties to NFTs, DAOs, and smart contracts, this book breaks down complex Web3 concepts into practical strategies that help artists earn more, connect directly with fans, and retain creative freedom. With real-world examples, platform recommendations, and step-by-step guidance, it empowers musicians to bypass traditional gatekeepers and build sustainable careers on their own terms.
More than just a tech manual, Breaking Chains explores the bigger picture—how decentralization can rebuild the music industry’s middle class, strengthen local economies, and transform fans into stakeholders in an artist’s journey. Whether you’re an emerging musician, a veteran indie artist, or a curious fan of the next music revolution, this book is your roadmap to the future of fair, transparent, and community-driven music.
Get your Limited Edition Signed and Numbered (Only 50 copies Available) Free Shipping Included
Discover more from Making A Scene!
Subscribe to get the latest posts sent to your email.


